Not Your Old-Fashioned Burger + Homemade Buns
4/25/10 : Turkey Meatloaf Burgers with Onion Buns
Meal details: I made king sized burgers that had apples, onion, mustard, and ground turkey and I served it with homemade onion buns.
Defining moments: First time for my family to use ground turkey.
Recipe sources: The burger recipe came from the November 2009 issue of Every Day with Rachael Ray magazine. I specifically chose it because I am part of the Food Network Chef Cooking Challenge that is being hosted by the writer of the I Thank My Mother blog. The onion bun recipe came from the King Arthur's Flour blog.
What I learned: These onion buns were really fun to make and really have a unique spiral. I had to roll out my dough to a large rectangle, roll it up like you were doing cinnamon rolls, and cut them with a bench knife. I don't know why but forming a jellyroll turned out to be a lot of fun. The dough was real easy to work with and had a bit of sheen to it.
I was cringing the moment when I had to form the burgers (manipulating any ground meat is something I hate!), but the whole process went very fast. I placed all my ingredients in one bowl, mixed it together by hand, formed them into eight equal burgers (about 1/4 pound each), placed them on a cookie sheet lined with wax paper, and when the large skillet was up to temp, I placed gingerly transferred them to the hot pan. Worked like a charm.
I waited until the burger registered 185 on the cooking thermometer and that took about thirty minutes. I discovered that it is really important to wait until the first side is completely brown before I flip--if the burger doesn't have a crust it will fall apart.
Any modifications? I made some alterations to the burger recipe and followed the onion bun recipe exactly.
So for the burger recipe I. . .
Didn't add celery
I used cojack cheese instead of white cheddar
I didn't serve sour cream, onion, lettuce or chives for condiments
I used the onion buns instead of English muffins.
How it tasted? The bun and burger tasted wonderful together and the cranberry sauce was a very good condiment. However, the cojack cheese overpowered the flavors of the burger. The burger was very moist and full of flavor and the bun, even though I couldn't taste the dried minced onion, was soft and crusty.
How about a 2nd time? Yes, I would make both again but next time I would not add cheese on top of the burger.
Paella Day
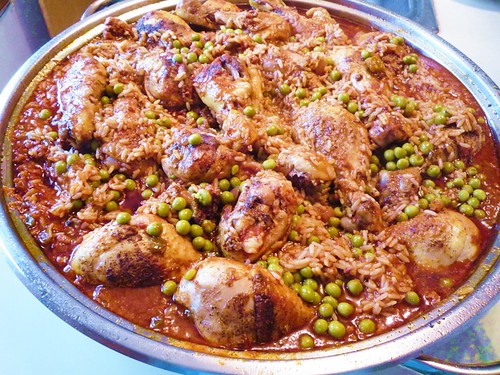
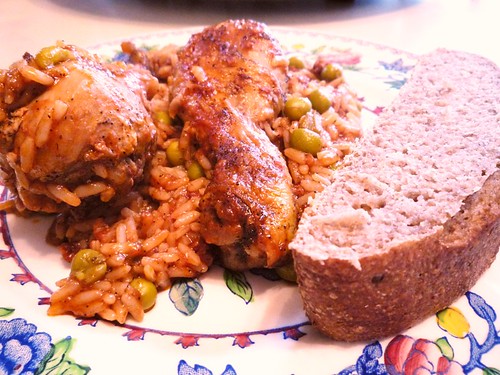
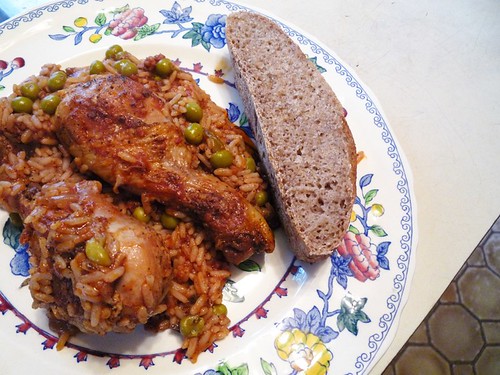
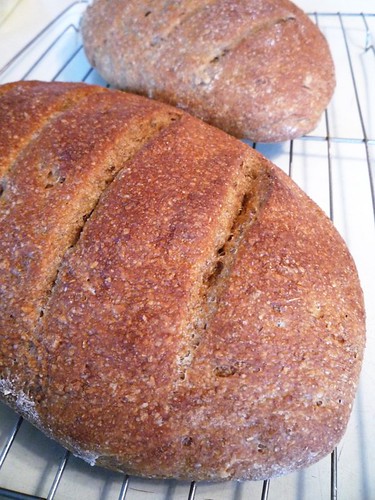
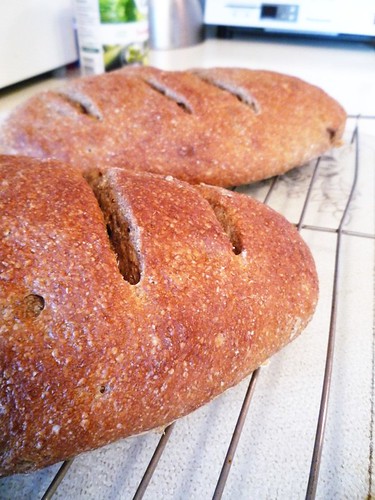
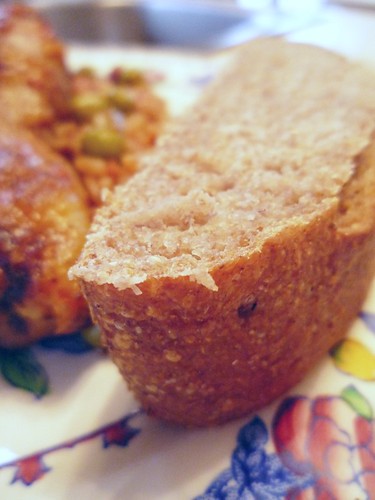
4/18/10: Spanish Chicken and Chorizo Paella with Whole Grain Rye Bread
Meal details: For the main course I made a huge pan of paella (a Spanish rice dish) that had chicken drumsticks, crushed tomatoes, peas, and chorizo. And I served a whole grain rye bread along side it.
Defining moments: First time for me to taste or make paella and also first time baking rye bread.
Recipe sources: The paella recipe is from Paula Deen and I specifically chose it because I am part of the Food Network Chef Cooking Challenge that is being hosted by the writer of the I Thank My Mother blog. The rye bread recipe came from my Healthy Bread in Five Minutes a Day cookbook. See my review of this book here.
What I learned: I learned that it takes exactly 20 chicken drumsticks (of medium size) to fill our large stainless steel skillet. No more, no less. :D That little tidbit is always nice to have on hand! I also finally realized how helpful my HBI5 (Healthy Bread in Five Minutes a Day) cookbook is when it comes to preparing a meal in advance. Because of the high moisture in each recipe, you are able to store the dough in the refrigerator for up to 7 days. I took advantage of this and prepared my dough Friday evening and baked it on Sunday. Makes bread baking really fast and usually "bread" and "fast" don't fit in the same sentence!
There is a funny story behind the flour shopping that was done for my rye bread. Annemarie went to Plumb's (a small grocery store nearby) and couldn't find rye flour ANYWHERE. But she came home with Bob's Red Mill Whole Ground Flaxseed. FLAXSEED? My gosh, I thought I would never see it, being kind of a specialty item! Oh boy, I'm really eying that flaxseed recipe in the book now. And by the way, we found rye flour at Bill's Shop and Save so I didn't go without my rye flour this week--obviously!
I wanted to write down here exactly what I do to bake this bread. Unlike the recommendations in the book, I do not use a pizza stone (aka baker's stone) or any special equipment. I simply use a 12 x 15 cookie sheet and a deep roasting pan. I line the cookie sheet (or sheets, when I am doing more than two loaves), with non-stick aluminum foil and form my loaves right on the sheet. I cover them loosely with plastic wrap and let them rise for the suggested time. I place the roasting pan on the lowest rack in the oven and preheat the oven for 30 minutes.
Once the oven has come up to temperature, I remove the plastic wrap and brush the risen loaves with water and make four, 1/4" slits on the top of each. With one cup of water on hand, I place the loaves in the oven, pour the water into the roasting pan, and quickly shut the oven door. The hot roasting pan will create steam and give the loaves more time for some major "oven spring." My oven does not close perfectly and some of the steam is lost but I have not found it to cause any baking problems.
So that's what I do for baking HBI5 bread.
Any modifications? For the paella recipe, I used all drumsticks instead of chicken thighs and drumsticks, I used Mexican chorizo instead of Spanish (the Mexican variety is fresh while the Spanish is dried), I omitted saffron, and I used long-grain rice instead of the Arborio.
I followed the rye bread recipe exactly.
How it tasted? Both the paella and the bread were fantastic. The chicken was nice and tender and the rice was spicy (because of the chorizo) and had perfect texture. The rye bread had a chewy crust and a tender crumb--just the way I like it. The rye bread, however, didn't have a real rye flavor, I mostly tasted the whole wheat that was included. Maybe I'll try it without the wheat next time.
How about a 2nd time? You bet!
We're Knee-deep in Deliciousness --- Experiencing Deep Dish Pizza
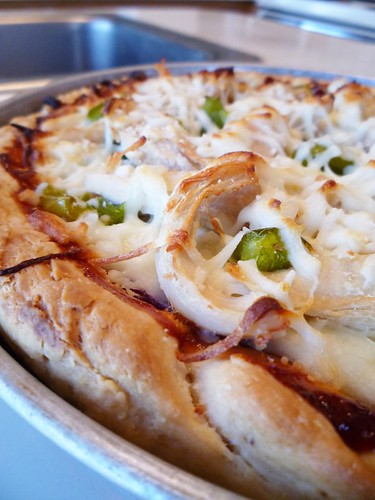
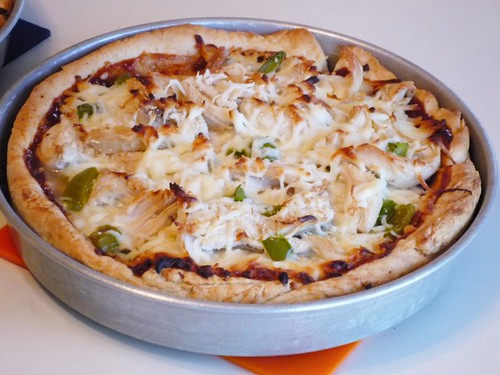
4/11/10: BBQ Chicken Deep Dish Pizza and Cookies and Cream Cake
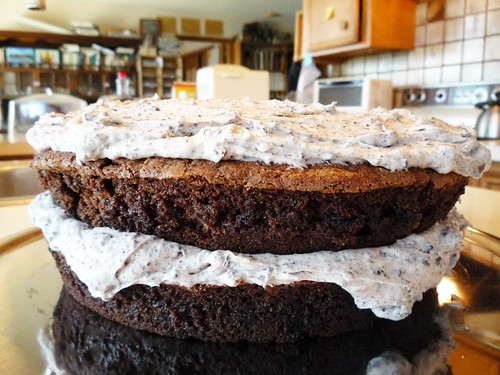
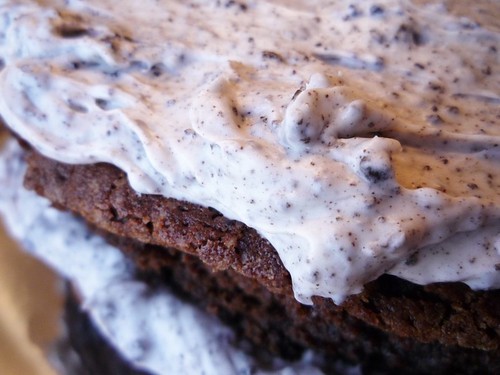
Meal details: For the main course I made a deep dish style pizza with a bbq sauce, mozzarella cheese, chicken, bell pepper, and onion topping. And for dessert I made a chocolate cake with a cream cheese frosting, all of which had Oreo crumbs whipped in! I'm an Oreo fiend so you can see why I chose this type of cake!
Defining moments: I finally was able to use a Christmas gift I received last year. They're called Evenbake Cake Strips and they are from Regency.
Another defining moment for me this week was making a deep dish pizza. Never did that before!
Recipe sources: The recipe for the pizza crust came from the King Arthur's Flour blog, Baker's Banter. I didn't follow the instructions for the topping though, I made my own by combining chicken, bell peppers, onions, bbq sauce, and shredded mozzarella cheese. The Cookies and Cream Cake is a Pat and Gina Neely recipe and I specifically chose it because I am part of the Food Network Chef Cooking Challenge that is being hosted by the writer of the I Thank My Mother blog.
What I learned: You know those cake strips I just mentioned? Well, I learned that they are suppose to help your cakes remain level and moist. To use them, you have to saturate the strip in water, squeeze a little, wrap it around your cake pan, pour the batter in, and bake. Really simple and I discovered that it actually works! My cakes (I made a two layer cake) came out with a level top and they were incredibly moist. So I give this unique kitchen gadget 2 thumbs up! :D
Any modifications? I just modified the pizza toppings, I did everything else according to the recipes.
How it tasted? Can you believe that people are still talking about that pizza days afterwards? In a good way, too! ;) Everyone loved the pizza and the Cookies and Cream cake was exceptional. Annemarie, who is from Chicago, said that the pizza crust is just like the real thing. Wow, huh?!
How about a 2nd time? Are you kidding? Of course!
Apple Sweet Potato Bake : An Easter Treat
4/4/10 : Apple Sweet Potato Bake
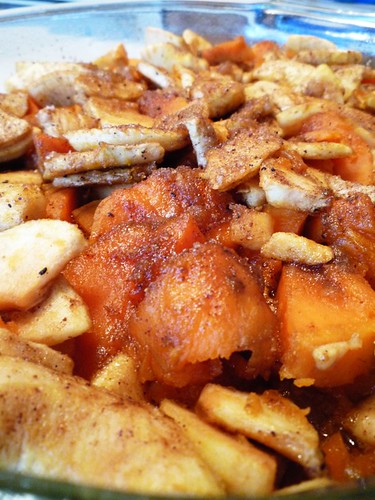
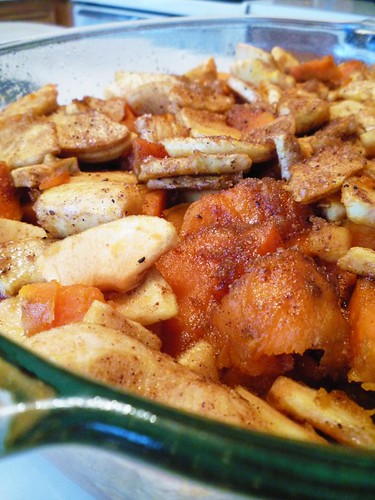
Meal details: Since it was Easter Sunday, I only did the side dish part of the meal and the ham was taken care of by my Papa. The side dish I chose to do was an apple and sweet potato type of casserole and was flavored with warm spices, such as nutmeg and allspice.
Defining moments: First time for me cooking with sweet potatoes and first time combining sweet potatoes and apples. Interesting combination, don't you think?
Recipe sources: I found this recipe on the Taste of Home website. Check it out here.
What I learned: This was a very easy dish to put together, so easy that I cannot think of anything to write here. I'm glad I chose a simple recipe being it Easter and all!
Any modifications? Yes. I didn't use as much brown sugar as the recipe called for. I thought the 3/4 cup was overkill so I used about a 1/2 cup.
A little side note. . . I prepared the sweet potatoes by peeling them, cutting lengthwise, and baking them for about 40 minutes in a 350 degree oven. I then cut them in 1/4 slices and added them to the casserole dish.
How it tasted? It was well received by the entire 'Easter Parade.' :D The sweetness of the sweet potatoes went well with the spices and the tender Northern Spy apples I used. Very delicious!
How about a 2nd time? Absolutely!
Labels:
apples,
sweet potatoes
Jell-O Italiano -- My First Panna Cotta!
3/28/10: Pigs in Blankets and Panna Cotta
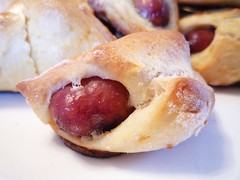
Meal details: For the main course I made pigs in blankets which are little cocktail sausages wrapped in dough. And for dessert I made a vanilla flavored custard slash pudding-like dish called Panna Cotta. A little bit of background about this dessert will follow!
Defining moments: First time for me making pigs in blankets (I've tasted many beforehand!) and first time making and tasting Panna Cotta.
Recipe sources: Both recipes come from Food Network chefs. Pigs in Blankets is a Nigella Lawson recipe and the Panna Cotta is from Michael Symon. I specifically chose these two recipes because I am part of the Food Network Chef Cooking Challenge that is being hosted by the writer of the I Thank My Mother blog.
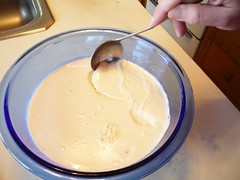
What I learned: "So what is Panna Cotta, anyway?" I thought before Sunday rolled around. I saw it being made by a couple chefs on Food Network (Daisy Martinez and Ina Garten for example), but I never really knew what it meant or where it came from. It turns out that Panna Cotta is an Italian dessert that literally translates to "cooked cream." It is traditionally made using sugar, cream, and milk which are combined and brought to a simmer, and then gelatin is added to make a silky, smooth Jell-o-like form. Interesting, huh? And of course Panna Cotta can be flavored with anything you like--such as vanilla. So when I saw Michael Symon's Panna Cotta recipe in the March issue of Food Network Magazine I decided to give it a try.
On to Pigs in Blankets. . . The recipe was easy to follow but I did discover that these little bite sized doggies can be time consuming; especially when there are 100 to make. (Eight member family, you see.) When I try these again I think I should ask for some help! :D
Any modifications? Yes, I made slight modifications to each.
1. Since I didn't have self-rising flour on hand I made my own by adding 1 1/2 tsp. baking powder and 1/2 tsp. salt to each cup of All-Purpose.
2. Instead of using whole milk I used canned evaporated milk and to every 1/2 cup of milk I added a 1/2 cup of water. This creates a milk mixture that has just the right amount of fat.
3. For the Panna Cotta, I used good vanilla extract (some really strong extract from Spices Etc.), in substitution for the vanilla bean. I used 2 tsp. of extract for every vanilla bean.
4. I used my evaporated milk and water mixture instead of the whole milk called for.
5. And I used one large bowl for the Panna Cotta instead of little ramekins. It appears that Panna Cotta is able to set in any sort of serving dish.
How it tasted? The Pigs in Blankets were juicy, cheesy, and the dough had a great texture. Worth the extra work! The Panna Cotta was superb! It had a delightful vanilla flavor that was surprising for the amount of extract I added. However, the texture wasn't completely smooth and creamy as it should have been. I saw, and slightly detected with my tongue, the small grains of Greek yogurt. If I were to do this recipe again I would use plain yogurt instead of the Greek variety; I believe it would produce a better texture.
How about a 2nd time? Yes, I would do both recipes again. . . With an extra kitchen hand and plain yogurt of course! :D
Labels:
panna cotta,
pigs in blankets
Subscribe to:
Comments (Atom)


